
I do want to catch you up on where I've been and the fun I did manage to squeeze in mostly on weekends.
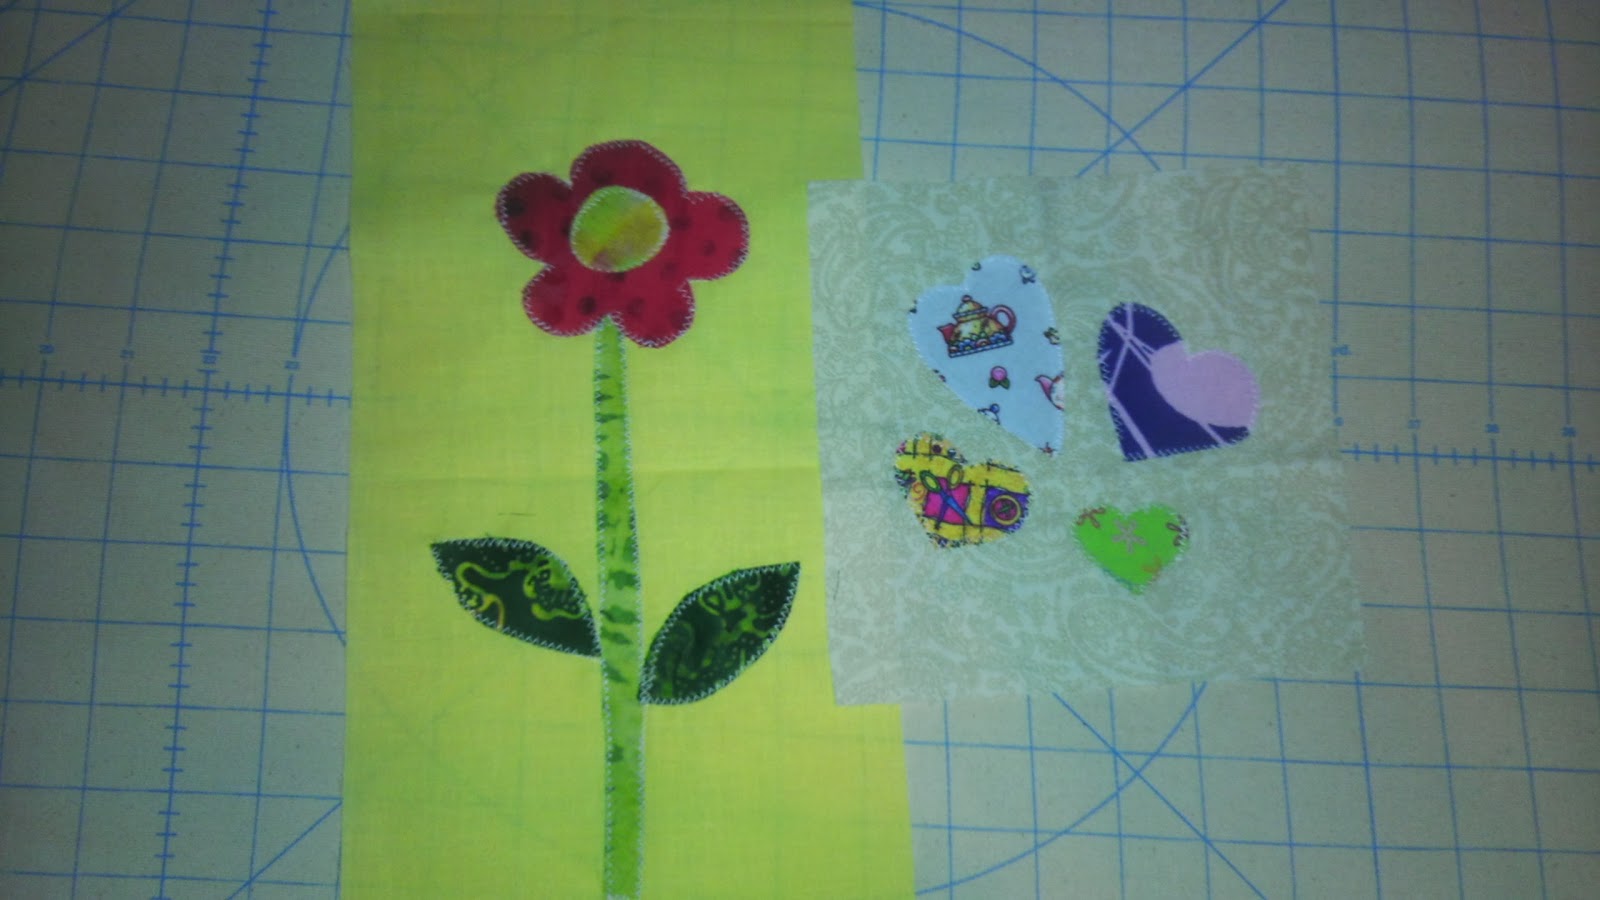 |
| Completed Stash Bee Blocks and mailed them to England. Hearts and Flowers in 12x6 or 6x6 blocks. I did one of each. |
I also made an iron cover for traveling to and from sew days. Here's how:
First, I outlined the shape of the bottom of my iron on fabric and cut it out 1.5in larger all the way around for seam allowances.
I basted the iron shape with heat-resistant batting and the backing fabric.
 |

I cut out the shape of the iron bottom using the top as the template.

I folded over 1 inch to create a casing for the ribbon I was using.

I sewed the opposite side without the casing to the perimeter of the quilted bottom. Use lots of pins to keep the shape of the top and bottom curves.

Remember to leave a 2-3in gap from the starting and stopping point of your sewing.

Next, I sewed the two sides of the top fabric together. You can easily pinch the quilted bottom so it does not get caught in your sewing here. Do not sew the casing opening closed!

Once you finish sewing the sides together, you can close the seam along the bottom. (Double check for the correct measurement so there is no gap when you close things up to sew the last seam.)

Feed your ribbon through the casing using a safety pin. (I used this Moda jelly roll ribbon because it's so cute and it's a great way to recycle.) I tied a knot so it doesn't slip out. Ensure that your opening is more than wide enough for the iron to come in and out without struggle before your tie things off.
 |
| Sorry this picture cuts off the top but there a numerous tutorials how how to push ribbon through casing. |
 |
| I made this during our guild's recent sew day and actually took home a warm iron. |
_________________________
I am frantically working to complete a gift for my sister's 40th birthday in March. (I can't believe how old we are already and that 40 is around the corner for me, too.) I don't think I will have it done for her actual birthday after all but she will get it as soon as humanly possible.
Here's a teaser photo:

I saw this paper pieced camera last November at our guild's retreat and started working on a sketch for my sister later that month. I can't wait to share the completed quilt with you soon.
_______________________________
And last but not least, some Orlando Modern Quilt Guild news:
At the February meeting, I was elected President. Whoo hoo! (I was unopposed so I didn't have to kiss any babies.) I'm pretty excited about this new role and look forward to a fun year with some amazing quilters.
Yesterday, the guild and I went to Trenton, Florida to spend the day at the The Suwannnee Valley Shops. I was so happy to get to know Maya during our drive and we only had to turn around twice along the way. (Stupid Google Maps!) We were the last to arrive but the journey was as much fun as the destination.
We had a wonderful lunch at the Tea Room and started our shopping spree. I came under budget on my shopping for fabric and scored these gems:
 |
| Julia Cairns for Quilting Treasures I plan to make something for my momma with this beauty. |
 |
| Hoopla and Everyday Fun by Jennifer Heynen for In the Beginning fabrics It's all things quilting in lovely, bold colors. |
 |
| Technicolor by Emily Herrick for Michael Miller Fabrics |
 |
| Black and White Houndstooth Faye Burgos for Marcus Brothers Textiles |
 |
| Spotlight by Michael Miller (So retro, so awesome!) |
 |
| Terrain by Kate Spain for Moda |
 |
| Zip It (Michael Miller Fabrics) |
 |
| Where the Toys Are by Dan Morris for RJR Fabrics |
 |
| I loved these circles the most. Blank Quilting (#6270) |
Afterwards, we wandered over to the antique shop and found this blast from the past. I felt like a kid all over again and the price was too good to pass up.

As Rainbow Dash would say, "My quilt room just got 20% cooler".
____________________________
Stay tuned for more Tula Pink City Blocks next weekend.
Hope you are well. Leave a comment with what you've been up to in February.