Showing posts with label Kona colors. Show all posts

Sunday, March 9, 2014

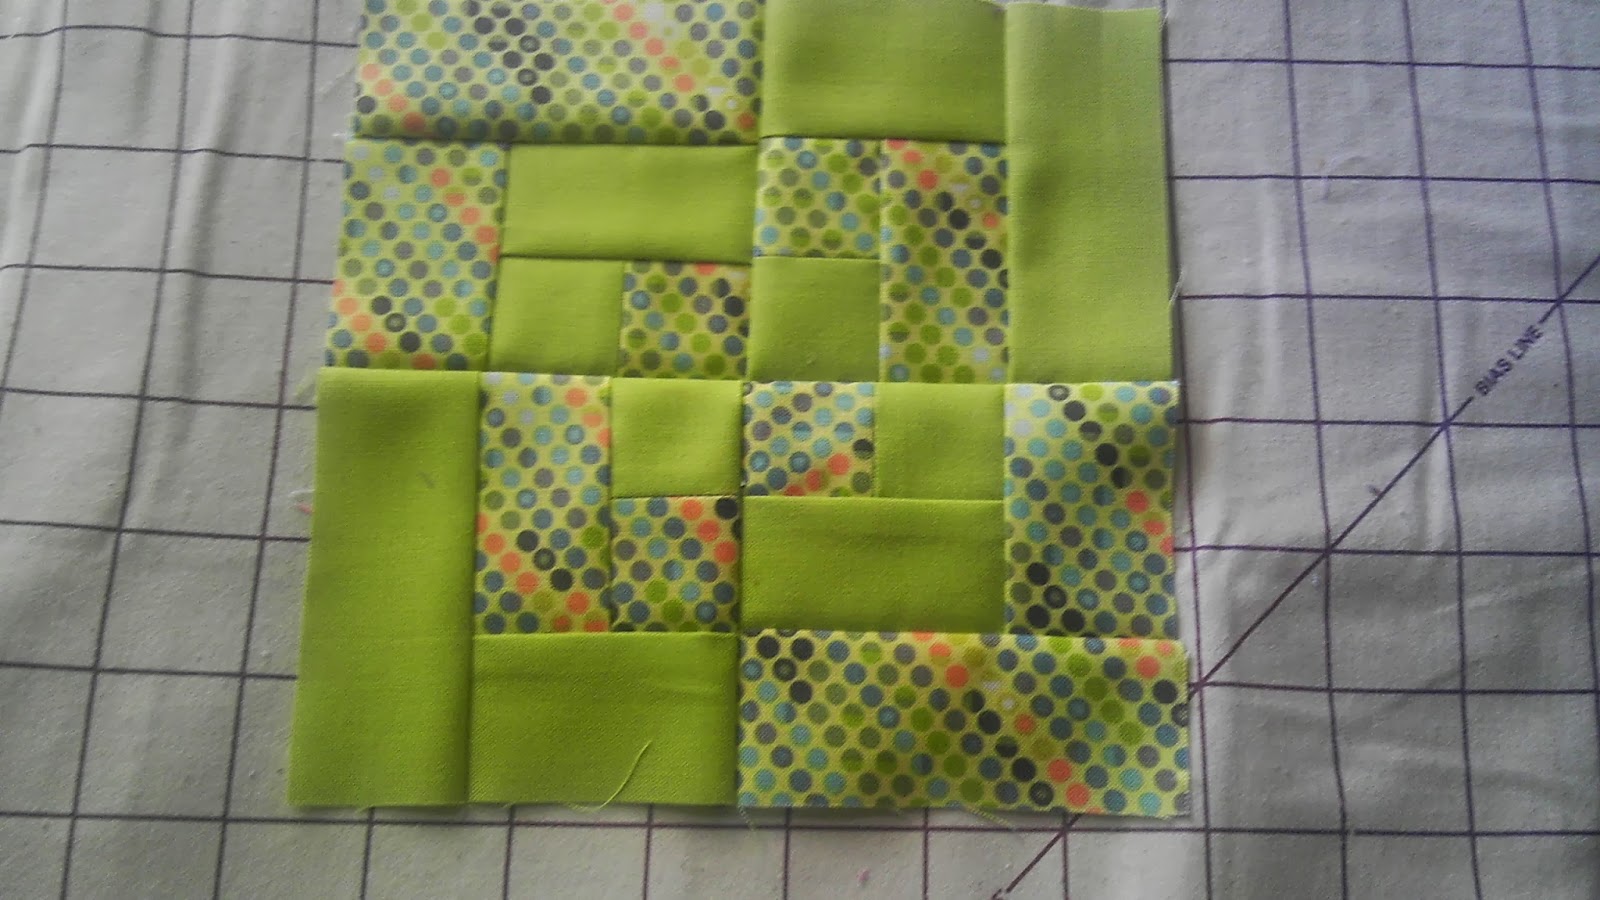
City Sampler Blocks 9-24

Happy Sunday!

It's been a while since I've been able to post but I wanted to share more blocks that have been completed.

Tula Pink's City Sampler: 100 Modern Quilt Blocks

In my quest to make all 100 blocks, this book has kept me sane over the last few weeks. Since work and new responsibilities with the Orlando Modern Quilt Guild have taken up a lot of my waking hours, I cherish the times I've been able to take breaks to sew these 6.5 inch blocks.

I'm not giving titles to these blocks so I'll just list them by number.

#9
#10
#11
#12
#13
#14
#15
#16
#17
#18
#19
#20
#21
#22
#23
#24
As I add these blocks to my complete pile, I'm pretty excited about how they will look together. You'll have to check back in December to see the finished set.

Hope you are well. Best wishes for the week ahead.

Friday, January 31, 2014

City Sampler Blocks 1-8

One of my goals this year is to finish all 100 blocks from:


Her blocks are untitled and she asks you to name them when you make them. I decided to keep them as numbers similar to Shakespeare's sonnets: beautiful in their own way, no titles necessary. They have been so soothing to create. I've enjoyed taking my time to meditate while finding colors that work well together. It will be my Rainbow City Sampler when all is said and done. 

Since they are so small, I hope to finish 2 per week and have them all done by the end of Dec. It's a perfect way to use my Tula Pink fabrics that I've hoarded for a while now. I've also added scrap jelly roll strips, polka dots, and Kona solids to give some contrast to her bright Acacia line.

Here's what I have so far:


(Love this raccoon peeking out here!)
Blocks 1-8

[Please forgive the bad lighting in these photos. There has been no sun here for days!] 

The challenge has been to work with such tiny pieces and to make those seams accurate. I've made a few short cuts with strips when possible so they are a little easier to manage. I'm pretty smitten with these 6.5 in unfinished blocks and look forward to building this collection. I'll post them at the end of each month so please stop by to check their progress. 

What projects are keeping you busy this year?

Thursday, December 5, 2013

She shops, she scores!

I am never one to brave the crowd on Black Friday for any sale. I am just not a fan of the traffic and potential rudeness that occurs because something is half off. So I shop online when I see an email or an online sale that is too good to pass up.

This year, Craftsy won! Their fabric sale last weekend was Ah-mazing! (I went a little nutty but I blame it on the cold I was getting.)

It all arrived in the mail on Tuesday and this was my first chance to share my goodies with you.

More Shot Cottons - Yes, please and thank you!

Can't resist more Kona!
This Silent Film set will work well
for my black and white quilt I'm designing.

The only pearls I want are "Pearl Bracelet" fabric from Andover.
Lizzy House makes me happy.
Riley Blake's Small Dots in Rainbow colors.
Couldn't resist!
Tula Pink!!!!!
I love this Acacia line and can't wait to play with those charms.
 So this is part of my stash. I'm waiting for the rest to arrive later this weekend. I look forward to a new year of great quilting projects. I certainly have lots of fun things to play with now.

Perhaps Santa will bring the camera that I've asked for so I can post better pictures next year?

Saturday, November 30, 2013

A Labor of Love - DWR Challenge Complete!

 I am so thankful for the wonderful week I was able to share with family and friends. Having a few days off for Thanksgiving and just getting to rest/quilt was such a treat. This much needed break afforded me the time to finish up the Double Wedding Ring challenge for the NYC Mod Quilt Guild.

So here's what happened:

After ordering the EZ Quilting DWR acrylic ruler, I sketched out several different patterns that I wanted to make on graph paper. I was able to roughly figure out how many A and B pieces were needed to make this project happen. Who knew you would need that many pieces for just 4 (not so little) rings?
I started by cutting up the scraps from my last major
project: the Rainbow Ribbon quilt.
I love my Kona collection of colors.
(I wish I could afford to buy the bolt for each color they make.
I would then need a bigger house to hold 220+ bolts!)
A lot of little pieces to cut.
(The original designer of this pattern had A LOT of patience!)
Since I wanted to make a ticker-tape-style design,
I cut freezer paper as a place holder for the rings on the background fabric.
All of the cut pieces stayed on the "designing/dining room table"
for a while before I settled on the quilt top.
I loved how this template is just made for a rainbow design.
The six A pieces formed lovely arcs of joyful color.
Hindsight being what it is, I realized too late that
the freezer paper would be too small
because the templates of are for sewn arcs. 
This part was not as easy as it might look.
If they are not lined up just right, the circles will not close.
(It took 2 days of not sewing a thing to get all four rings to work!)
Three glue sticks later...
...I didn't trust taking it to the machine so I taped them, too.
(Hindsight again says why didn't you just use
double-sided fusible before you
cut the pieces so you could just iron them?)
I sewed around the edges of each ring
so they would say in place for layering the quilt.   
Once they were sewn, the fun part was
taking off the tape to see how many arc were left to sew.
(Almost as rewarding as popping bubble wrap.)
The top is finally finished!
It's sandwich time!
(Also known as time to mop the floor first
before you do anything else.)
I like when I can start to
see the finish line. 
I spray basted and pinned
this beast.
I don't do both steps often
so when I do you know it's love.
(Or the fear of puckering...)
Round and round I went, stopping only to sleep and eat.
I finished the binding last night and
went to the park to get the best light today.
When Two Become One
This quilt really challenged my patience at times but I loved seeing the final photos today. When you can see all of your hard work come together into something fun, the struggles along the way seem so minor. It's much like a marriage in many ways because the imperfections are not really important when you can step back and see the love you share. Marriage is a labor of love because you have to figure out how to make it through the tough times to really make it work.

So I call this quilt When Two Become One because that's what I feel a marriage represents. When two souls that are quite different (slightly off centered at times) join together, they form a beautiful union.

Quilt Info:

Name: When Two Become One
Completed: 11/29/2013
Size: 60 inches by 76 inches
Materials: Kona solids
Cotton scraps (rainbow polka dots and black and white checkered prints)
Three shades of gray background fabric
Warm and Natural cotton batting
Rainbow hearts cotton backing
Gutermann Thread (Colors 5709, 102, 6206, and 116)
Glue Stick (acid-free)
Quilter's tape
EZ Quilting Double Wedding Ring Acrylic Templates


Thanks for reading my post. Hope it inspires you to get creative and make your own Double Wedding Ring quilt.

Thursday, October 31, 2013

Blogger's Quilt Festival - Fall 2013...Just made it!

AmysCreativeSide

After a crazy week of sewing in between working and very little sleep, I finally finished my entry for the ROYGBIV quilt. I am so happy to share it with you!

Back in August the Orlando Modern Quilt Guild hosted two days of workshops with Jacquie Gering. Although I could not make the first day's session, I was so excited to attend her Stitch and Flip class that Saturday. I brought my favorite Kona solids (mostly scraps but a few FQs) and a gun-metal gray background color to create my project. Since I love a good rainbow, I knew I was going to incorporate as many colors as I could in this piece.

I started with 3.5 inch squares and 6.5 x 3.5 inch rectangles in my gray background color. I added a colored scrap in the corner and just started sewing. I didn't have an exact design in mind yet so I just carried on until I ran out of cut gray blocks.
 After sewing and trimming each block, I went to the design wall to see what I had so far. As I tried to connect the colors, they started to naturally form this organic line that slanted down at a fun angle. I then came up with the idea of this ribbon of colors that will swirl across the quilt.


Jacquie was such a great teacher and shared so many of her tips that day. She mentioned that she had never seen squares and rectangles together in a class and was looking forward to the end result. She even spent some time in the back helping me connect this swirl by reminding me that triangles are needed a the end to bring a line around to the next row. 
Before we left, she signed books and took photos with us. It was such a fun day!


The class ended way too quickly but I left so inspired to create this piece when I came home. I placed my pieces on my "design dining room table" since I don't have an available wall at home. I had lots of gaps here and there that needed to be filled. I also had to decide where a row would end and which colors would connect. I set out the next day to make triangle corners to bring the lines together.
This design became the final draft and I set to work piecing this top.
I took one row at a time and worked from top to bottom. 

 I spent some time working to make sure the rows were in the correct placement so I didn't lose the design or have to pick out any stitches! I was relieved when the blocks were done and I reached this point.
 Sewing the rows together was pretty easy after that! I place pins in every other row to press them in opposite directions. This made for perfectly nested seams that were a breeze to sew together.
 After weeks of searching for the right fabric to make the back panel, I was lucky enough to find what I was looking for last weekend. "Rose Windows" by Samarra Khaja (Timeless Treasures) looks like tiny pieces of a stained-glass window. It has 18 different colors and was exactly what this quilted needed on the back to emphasize the design on the front. I added a matching gray border around this gorgeous fabric to make it the same size as the front.


Now, the hard part was basting and quilting this huge thing. I spent a long time lining up the front panel with the center of the back square. I spray basted and also use safety pins so it would not move too much. I used thin masking tape to start a diagonal line in the middle and rolled it up from both ends.
I don't know that I will attempt more quilting on the diagonal any time soon. I have to find a much larger machine that will allow my "rolled burrito" to easily move about the throat space. (The Baby Lock Melody sewing machine looks like it would work better than what I currently own!)

After two days of coaxing this beast through my machine, I really loved how the quilting turned out and set to work last night to finish the binding. The rainbow strips I cut a few days ago did not really match this final project so I decided that a simple black binding would frame this quilt much better.
So here you have my final design:


I call it Rainbow Ribbon because it reminds me of a gymnasts twirling ribbons from the floor exercises. This is a gift for someone very special!

Blogger's Quilt Festival Category: ROYGBIV Quilt

Quilt measurements: 64 x 46

Quilt materials: Kona solids in various colors and gray, "Rose Windows" by Samarra Khaja (Timeless Treasures) for backing fabric, cotton batting, Gutermann thread (Color 116)

Thank you for reading this post. I hope it inspires you to be creative!